
How To Fix A Hole In A Door
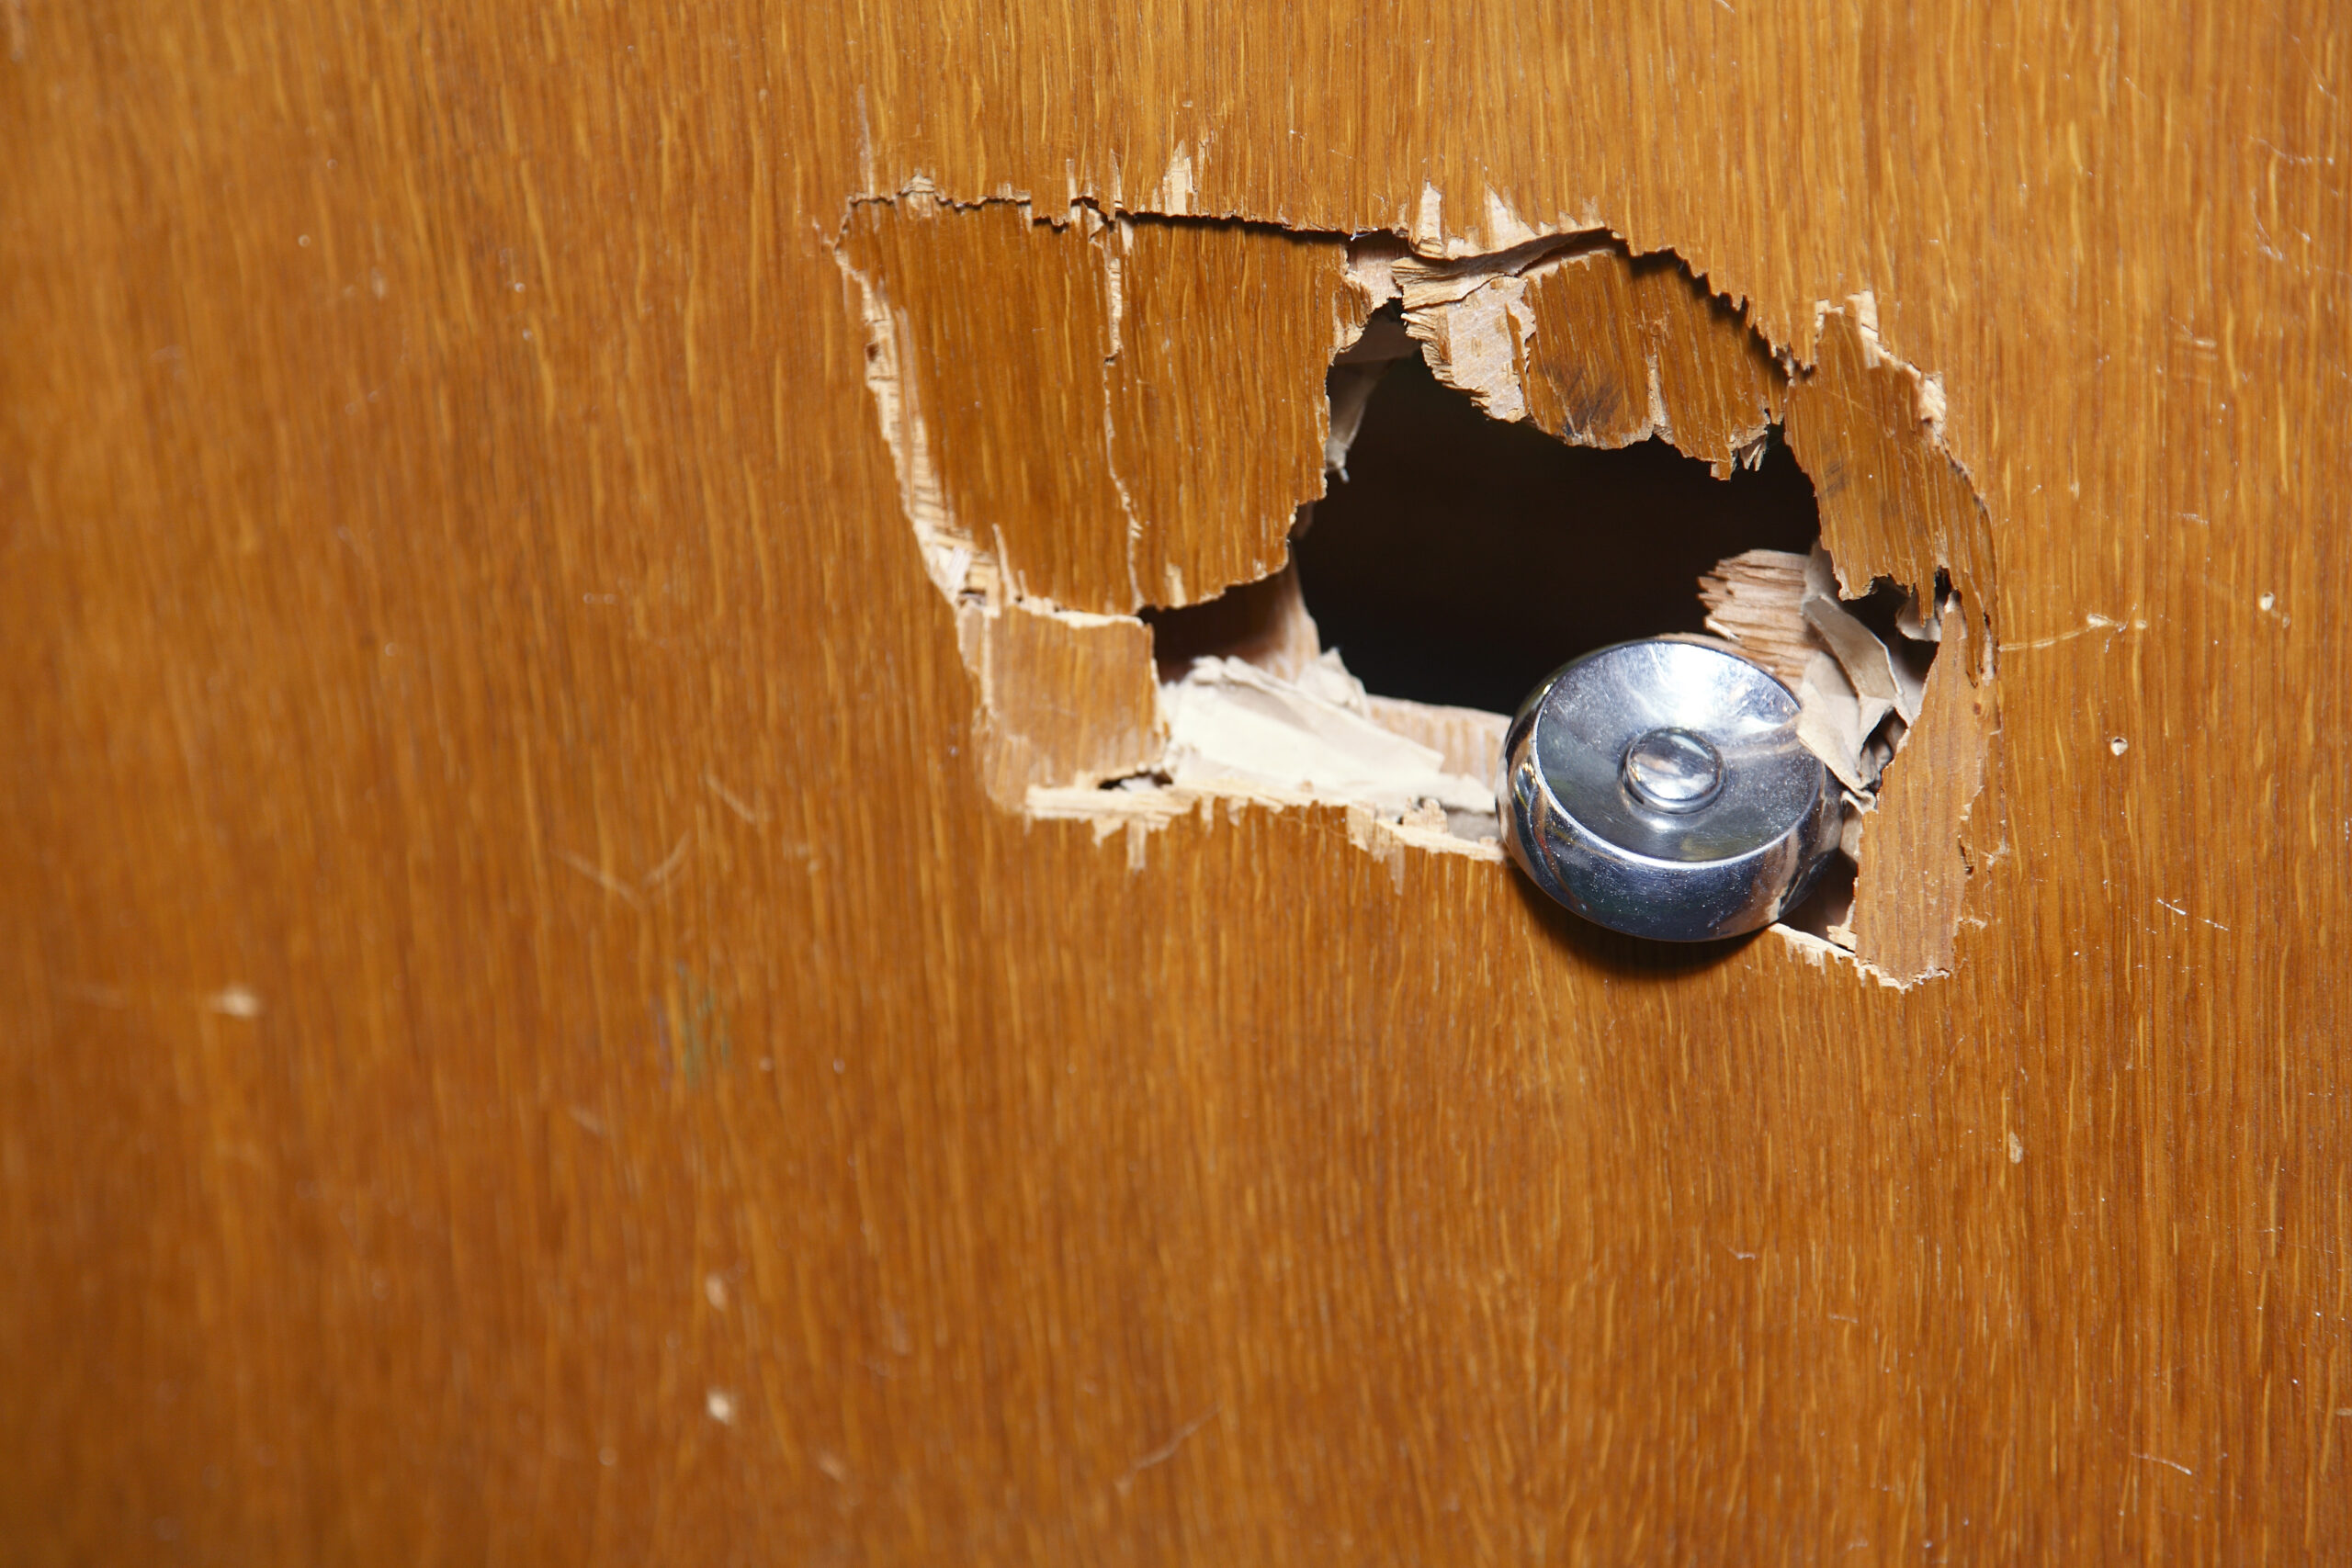
Hollow core doors, which are often vulnerable to damage, can be effectively repaired, mainly when dealing with common issues such as how to fix a hole in a door. Instead of incurring the cost and challenges associated with installing a new door, consider the practical approach of utilizing patching and refinishing techniques to breathe new life into your door. This article is designed to be a helpful resource, offering a step-by-step guide to empower you in successfully restoring your door to its optimal condition.
How To Fix A Hole In A Door: Things You Should Know
- Plug the hole or gap: Use paper towels, cardboard, or wire mesh materials.
- Fill the void: Use expandable foam for a thorough seal.
- Remove excess foam: Scrape away any extra foam.
- Mend the damage: Apply auto-body filler or spackle.
- Smooth the surface: Once filler or spackle dries, sand it down.
- Finish the repair: Paint or stain the repaired area to seamlessly blend with the rest of the surface.
Following these steps can guide you in effectively addressing and restoring damaged areas.
How To Fix A Hole In A Door: Things You’ll Need
- Protective surface covering (such as a tarp, drop cloth, or plastic sheeting)
- Hammer and flathead screwdriver (optional)
- Sawhorses, worktable, or bench (optional)
- Utility knife
- Newspaper, cardboard, or paper towels
- Expanding spray foam insulation
- Filler (auto body filler, wood filler, or spackling compound)
- Plastic putty knife
- 120-grit sandpaper
- Sanding block or random orbital sander
- Damp rag
- Paintbrush
- Primer
- Paint
How To Fix A Hole In A Door: Step By Step Guide
Step 1: Remove Loose or Broken Wood
Trim away any wobbly or broken wood around the hole or crack in your door. If you see bits sticking out or splinters, use a utility knife to carefully get rid of the damaged parts until you have a neat hole with only a few rough edges (1).
Remember to always cut away from yourself, especially when dealing with strong materials like wood.
Sometimes, you might need to make the hole a bit bigger before you start fixing it. Repairing a larger, undamaged hole is easier than a smaller one that’s all broken or has bits sticking out.
Step 2: Choose Your Stuffing Material
Decide on what you’ll use – paper towels, cardboard, or wire meshwork. They won’t make your door stronger, but they’re a simple, budget-friendly way to keep the insulation foam in place as it dries. Just crumple up a few paper towels or use your chosen material to fill up the hole or crack.[2]
Remember: Your Door Isn’t Completely Hollow
Keep in mind that your door isn’t totally empty inside; it has some diamond-shaped pockets. If the first material you put in falls through, no worries. Just keep adding more until that part is completely filled.[3]
Step 3: Fill the hole with expanding foam insulation.
Get a spray can with a long nozzle. Point it into the hole or crack in your door and start spraying. The foam will grow to fill the space inside the door, and any extra will come out through the hole on the door’s surface.[4]
There’s no need to stress if the foam spills a bit, You can cut off the extra later. Look for “low expansion” or “low rise” foam if you want something easier to use.
Step 4: Give the insulation foam time to dry overnight.
Once it fills the hole or cracks, it needs a full cure before you trim or smooth it. While it might start drying in just 30 minutes, it’s best to wait a whole day, around 24 hours, for a complete cure.[5]
For specific drying times, check the instructions on the insulation foam you’re using. Keep in mind some foams might need a bit more time to dry thoroughly.
Step 5: Trim Carefully with a Utility Knife
- Use a utility knife to cut away any extra foam. Place the knife just above the sticking-out insulation, making sure it lines up with the door’s surface. Gently run the knife down the door to take off the extra foam. Keep going until you’re level with or a bit below the door’s surface.[6]
Quick Tip: If the utility knife has trouble near the door’s face, switch to a razor blade
- No need to worry if you cut off a bit too much foam. You can fill it in later. The aim is to make it nice and even.
Step 6: Apply Auto-Body Filler for a Strong Fix
- Put a layer of auto-body filler to make a solid repair. Activate it by mixing its two parts on a piece of cardboard. Use a putty knife to spread the mixture over the hole in your door. Make sure to smear and press the mixture with the edge of the putty knife, filling any gaps to make it even with the door.[7]
Quick Tip: Auto-body filler is great for strong door repairs but can be tricky to handle. It usually comes with a catalyst to activate it. Keep in mind some fillers might not need mixing.
Step 7: Quick Solution with Spackle
- If you want a speedy fix, cover the hole with a spackle. No auto-body filler? No problem, Use spackle (joint compound) instead. Grab a putty knife, scoop out some spackle, and spread it over the hole in your door. Make it smooth and even by using long, fluid strokes.[8]
Quick Tip: Spackle is easy to find, easy on your wallet, and super user-friendly. While it might not last as long as auto-body filler, it will definitely do the job. And hey, if you don’t have spackle or auto-body filler, you can try using wood filler instead.
Step 8: Allow 24 Hours for Full Curing
- Be patient, Give it a full day for the surface to completely harden. Even though spackle and auto-body filler start drying pretty fast, they both need some extra time to get super solid. Waiting 24 hours will ensure you get the best and strongest repair possible.[9]
Quick Tip: Check the instructions on your spackle or auto-body filler for specific details on how long it takes to dry. It’s always good to know exactly what to expect.
Step 9: Sanding for a Polished Finish
- Time to make it smooth. Grab a pack of sandpaper sheets, starting with 100- to 120-grit. Begin sanding the repaired spot, then gradually switch to 220-grit. Keep sanding until the spackle or auto-body filler is level with the door’s surface and looks nice and flat.[10]
Quick Tip: Repeat this entire process for every hole or crack on the door. It might take a bit of effort, but the smoother it gets, the better it looks.
Refinishing the Hollow Core Door
Step 1: Remove the Hardware
- Take off any knobs, hinges, or plates if you’re redoing the whole door. It’s better to paint or stain the entire thing for a smooth finish. Use a screwdriver for this job.
- if you’re only fixing a small area, that’s okay too. It might stand out a bit, especially if it’s a noticeable spot, but it’s your call. You can also take the door off its hinges or use painter’s tape to keep certain areas clean.
Step 2: Get the Right Color
- Choose a paint or wood stain that matches your door’s colour. Need help? Ask someone at the store. Bring a piece of your door for a better match if you can (11).
Step 3: Apply the Paint or Stain
- Spread the paint or stain all over the door. A big paintbrush or a foam roller works great. Start with the grooves or panels, then do the rest of the door with nice, even strokes (12).
- Worried about making a mess? Put down some old newspaper or a drop cloth under the door.
Step 4: Let It Dry for 24 Hours
- After the first coat, let the door dry for a whole day. This helps the colour settle, and the repair looks good. Be careful not to touch it – even a little touch can mess it up (13).
- Check the paint or stain instructions for how long it takes to dry. And that’s it, Your door should look fresh and as good as new.
Step 5: Apply a Second Coat (if needed)
- If the first coat isn’t enough, go for round two. Another coat of paint or wood stain can deepen the colour and make your door look even better. After the first coat dries, add a second coat to cover any spots you missed. Let it dry for another 24 hours before putting back the hardware.[14]
Tip: Be patient; many paints take a few days to fully dry. And watch out for the first week after painting – your fresh coat needs some care.
Step 6: You Can Always Add More
- Feel free to add as many coats as you like; usually, 2 or 3 will do the trick. Your door will look fantastic with just a few layers of paint or stain.
Conclusion
In conclusion, this comprehensive guide offers a practical and cost-effective solution to “How to Repair a Hole in the Door.” Instead of opting for the complexity and expense of installing a new door, the step-by-step instructions empower individuals to confidently address and restore their hollow core doors using patching and refinishing techniques. This valuable resource equips readers with the necessary knowledge and confidence to tackle common issues, making the repair process efficient and accessible.
FAQs
Q: Should I fix my door or replace it?
A: Hollow core doors are typically budget-friendly and simple to replace. If you’re dealing with a sizable hole, opting for a door replacement is recommended. However, for smaller holes, you can patch them using spackle, then sanding and repainting to achieve a consistent appearance.
Q: Can you patch a hollow core door?
A: Certainly, it’s possible to patch a hollow core door. Apply spackle over the designated area for a rapid solution and then sand it down. To effectively conceal the patch, proceed with painting or staining the door.
Q: Can you replace a hole in a door?
A: If the door has experienced moderate damage and there’s no immediate need for replacement, we can handle the repair ourselves using appropriate tools and materials like PUR foam to fill the door hole. The most effective way to restore a damaged door is by addressing and filling the hole.
Q: How do you fill a 2-inch hole in wood?
A: Wood Glue and Toothpick Technique:
- Clear the hole, getting rid of any debris or loose wood.
- Pour wood glue into the hole, filling it almost to the brim.
- Insert toothpicks until the hole is fully occupied.
- Let the glue dry, taking anywhere from one hour to 24 hours.
- Sand the dried area until it matches the level of the surrounding wood.
References
- https://www.latimes.com/archives/la-xpm-2001-nov-18-re-5499-story.html
- https://upgradedhome.com/how-to-repair-punch-holes-in-hollow-core-doors/
- https://www.latimes.com/archives/la-xpm-2001-nov-18-re-5499-story.html
- https://www.latimes.com/archives/la-xpm-2001-nov-18-re-5499-story.html
- https://archive.epa.gov/epa/saferchoice/potential-chemical-exposures-spray-polyurethane-foam.html
- https://homelyville.com/how-to-fix-holes-in-doors/
- https://www.homeserve.com/en-us/blog/how-to/fix-door-hole/
- https://www.latimes.com/archives/la-xpm-2001-nov-18-re-5499-story.html
- https://www.bobvila.com/articles/how-long-does-spackle-take-to-dry/
- https://www.latimes.com/archives/la-xpm-2001-nov-18-re-5499-story.html
- https://www.bobvila.com/articles/how-to-match-paint/
- https://www.homesandgardens.com/interior-design/paint/how-to-paint-a-door
- https://www.homesandgardens.com/interior-design/paint/how-to-paint-a-door
- https://www.homesandgardens.com/interior-design/paint/how-to-paint-a-door


