
How to Install a Shower Drain?
Installing a shower drain can be tough to choose as it comes with several different options. The choice that you make out of all those options depends upon your situation and your actual shower plan and apart from that the kind of pipe that you have in your home will also determine the material of shower drain that you must purchase. It is highly recommended to go as per the manufacturer’s guidelines.
You must keep in mind that shower drains are structured in a way that makes them suitable to fit a 2-inch pipe only. It goes without saying that a 2-inch drain pipe is the recommended size of the pipe and if your shower or tub does not have that size, you will most likely have to change the size of your drainpipe in order to install a shower drain. Many people consider hiring a professional for a job which can easily be completed by themselves and we will explain step by step the procedure of installing different kinds of shower drains at your home by yourself without paying anyone else to do the job
Today, we will look at some very famous shower drains that you can choose to install in your home along with the process of how to install them. So, let’s get started.
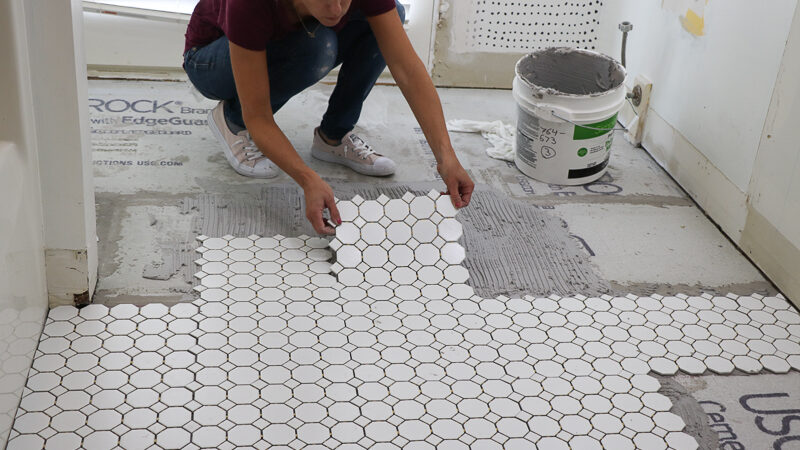
Installing Tile shower drain
If you are looking to install a shower drain for a custom-made tile shower base, then this is the right choice for you. These shower drains are available in cast-iron, PVC, and ABS types. These drains are often made up of flange which is waterproof. This liner could also be considered as the lowest layer of resistance towards water that makes sure that even in the worst-case scenario the water does not lead to the shower and goes to the drain straight away.
There are three pieces of shower drains strainer fitting, a middle flange, and a bottom flange.
- When the shower’s subfloor is set and clean, present the base rib of the channel into the drainpipe, commonly by staying.
- Use trowelled mortar to make the solid underlayment for the shower, inclining it 1/4-inch per foot from the dividers toward the channel.
- The liner is then presented over the floor and rib of the shower skillet. Use silicone caulk to seal the liner to the channel spine. Trim away the liner around the channel opening.
- Include the inside spine of the channel fitting over the liner and channel opening, using shocks to secure it to the base rib underneath the liner.
- Associate the channel sifter social affair to the channel, so it stands up from the liner around 1/2 inches.
- By and by you are set up for the rest of the ceramic tile foundation. Ordinarily, this will incorporate a second layer of mortar, by then the imaginative tile applied over the mortar.
Glue-On Shower Drains
These shower drains are available in PVC and ABS plastic.
If there is a drain pipe that is made up of plastic, you will have to keep in mind that you must match your shower drain’s plastic kind to the type of plastic that you have in the drain system.
Just like the above-mentioned shower drains, you can use this along with plastic, fiberglass, or steel shower bases.
Now, let’s talk about the process of installing this.
- You will have to cut the drainpipe just like the way mentioned in the compression type shower drain installation but make sure to not cut the pipe too short.
- After the height of the drainpipe is achieved you can install the drain onto the shower base first or vice versa after that just grip the high flange after the shower base is located in its place.
- You can use silicone or plumbers’ putty on the shower drain’s top flange.
Installing a Compression-Shower Drain
Compression type shower drains are caulked so because they attach to the drainpipe that you have using nuts and compression washers. They are very easy to install when compared to other shower drains.
The compression drains are available in Brass, ABS, or PVC pipes. All of them can be easily used along with plastic, fiber glass, or steel shower bases.
The process of installing compression shower drain is as follows:
- The drain pipe of your shower should reach up about three fourth to one inch below the shower drain’s lip. You may even have to use a marker in order to make sure you get the height of the shower base right. After marking it, you have to remove the pan in order to cut the pipe to the right size.
- Put either silicone caulk for plumber putty over the shower drain fittings’ top flange before inserting the tailpiece of the shower drain fitting into the opening of the drain. After that, you have to put the large rubber washer and the cardboard friction ring upon the tailpiece from below the shower base.
- Now you have to make sure that you tight the shower drains nicely and get rid of any extra silicone or putty.
- Put the shower base back into the place and push the rubber gasket inside the drain pipe. You can now use a screwdriver to put that into place and fit tightly.
- This should not be a problem because generally the shower drains are designed in a way that they could be fit easily.
- After it is tight, you will have to wait for the silicone to dry out in order to check the performance of the drain but if you used plumber putty then you do not have to wait and can try the drain immediately.
PRO TIP
If you find it difficult installing a shower drain always seek professional help rather than doing yourself.
