
How To Install A Ceiling Fan
A ceiling fan helps you cool down when the weather becomes hot. It is easy to install a ceiling fan, you just need to know how to do it step by step. When our house heats up due to an increase in the outside temperature, we find methods to cool down our house in the most cost-effective way.
This may seem difficult to do as in the contemporary tech world, and there is nothing cheaper that supports your monthly budget. But wait, fortunately, there is a budget-friendly and cost-effective way to get the cool breeze in the hot weather is Installing a Ceiling Fan.
Putting up a ceiling fan is a great way to enhance the ventilation and keep the room cool even without expending any money. A ceiling fan does not consume electricity as compared to an air conditioner.
You may be thinking it is a formidable task to install ceiling fans on your own, but it is super easy. You can remove any lighting fixture that is not in use from the ceiling and replace the ceiling fan on that place.
It is easy to do a ceiling fan installation by going step by step following the below-given instructions. If you know how to work with the electric equipment safely, you can by yourself install ceiling fans within a day.
How To Install A Ceiling Fan

There is a step by step process that you should know while installing the ceiling fan in your room. All these steps should be followed carefully as your safety matters on top. If you are not feeling confident enough to install the ceiling fan, you can ask the help from a professional handyman.
Follow these below steps to know how to install ceiling fan.
How To Remove The Old Electricity Fixture
- Off The Electricity Circuit Breaker: In order to safety from electrical shock, you are required to turn off the circuit breaker before you move on to remove the lighting fixtures. It is always recommended to cut the power whenever you are going to work on electric fixtures. Find the circuit-breaker box and turn off electrical power in which you are going to install the fan.
- Some houses’ electricity systems have different circuit-breaker boxes for different rooms, and you can turn off the power of that room in which you are working. But for more safety concerns, also cut the power of the main circuit breaker box before you start installing the ceiling fan.
- Remove Lighting Fixtures Screws: To climb up to the light fixtures, use a step-ladder, and loose the screws of lights. Hold the light fixture with your one hand for providing support while removing the screws. Once you lose all the screws, you can easily detach the old fixture from the ceiling.
- In case you do not fit a line in the ceiling, you can call the licensed electrician for installing one electric fitting in the room. Please do not attempt to run the wiring in your walls by yourself; it might be dangerous or can damage the walls.
- If you find it difficult to hold the lighting fixture in place during the removal of screws, you can ask somebody to help you. This will ensure the risk of fixture falling and make your way easier to unscrew fixture fitting.
Disconnect wires of old lighting fixtures:
- Find the wires that are holding the fixture with the wires coming from the ceiling plastic connector. Make sure that the fixture should be supported by any other thing than wires and then begin to unscrew the plastic connector.
- When the fixture gets disconnected, then slowly bring the fixture downwards from the ceiling. You can discard the fixture or keep it in the storeroom so that you can use it in the future.
- Make sure that you do not cut any type of wire or rewire anything in the ceiling. If you want to do so, ask help from the licensed electrician. If you do not know how the wiring is done in your ceiling fittings, stop right away and ask the help from the professional electrician.
- Also, ensure that the fixture is perfectly supported by any strong thing. Make sure that the fixture is not only supported by a single wire. There should be something good supporting at the time of removing as well as while installing. You can take the help of your friend for removing the old lighting fixture from the ceiling.
- Detach the old fixture ceiling box: It is in the shape of a circular metal box to which the other lighting fixture is attached. Check whether any screws and nails are attached with the old fixture ceiling box to keep it in place and, with support, remove these screws and nails. Then push the circuit box into the ceiling, or you can try to pry the circuit box in order to remove it.
- If you can climb furthermore, you can have better access and look closely at the circuit box. You can also use a flashlight to work easily in order to remove the screws and nails.
- Few standard boxes can be enough to hold the weight of the ceiling fan. Please make sure the ceiling box you installed should be made for holding the weight of the ceiling fan; otherwise, it may work or maybe riskier to use.
- If you are not sure about the old circuit box, remove it and buy a new circuit box that is rated to hold the weight of your ceiling fan. You can purchase this from your nearby store or check it online in order to find a sturdy circuit box.
- Some types of ceiling boxes have cable clamps that help in securing the wire in place. In case you notice any metal fixture holding the wire tightly, you can loose the screw a little bit. It would be best if you also slipped cable clamps to remove the tight wiring from it.
PRO TIP
If you are installing a ceiling fan yourself, it is better to have short rest periods in-between to avoid pain in your hands and neck.
Placing New Fan Box On Ceiling

- Buy A New Fan Box Along A Hanger Bar In Case Fixture Is Placed Between The Two Joists. Hanger bar is a rod that can be extended accordingly. It will easily hold the taut that is between the two joists and also provide support to the fan.
- You can easily buy a hanger box from a nearby electrical item store. You required a hanger box to install the ceiling fan between the two joists.
- Use a flashlight to check the hole where you installed the ceiling box. If you do not see the wood above the hole, this means that you have correctly installed the box between the joists.
Use Screw Fastening Box For Single Joists:
- If the ceiling opening is below the wooden framing, then you have to install a fan box that is directly screwed to the wooden framing. In such a case, you can buy a fan box from the local electrical item store without purchasing a hanger bar.
- For directly placing the fan box into the single wooden joist, look at the hole thoroughly and then using the screw fastening fan box screw the box firmly.
Cut A Hole In Ceiling For Installing Box In Right Place:
- Plan the fan box on the hole and trace the size of the box on the ceiling. The size of the fan box is usually bigger than that of the standard box. If the fan size is more than the hole, you cut use drywall saw for cutting to fix the fan box correctly.
- Make sure that you do not cut any wiring while using the drywall saw. For this, keep the drywall saw shallow as much as you can so that nothing can get damaged unintendedly; otherwise, you may get into trouble and have to spend lots of money to repair it.
Pass The Electric Cables From The Installed Fan Box
- Next, lift the newly bought ceiling box to the ceiling and pass the wires from the central hole of the ceiling box.
- If the box you have purchased comes with the cable clamp, then you have to pass the wire from this as well. Push the ceiling box towards the ceiling until it perfectly gets fits in the fan box.
Place The Fan Ceiling Box Firmly
If the fan box you have purchased is directly fixed to the ceiling joist, then you can hold the fan box against the wooden joist and screw it. In case you need to install the hanger bar, place the hanger bar between two joists.
You can use an adjustable wrench so that you can rotate the hanger bar easily as well as extend the bar. In order to place the fan box on the hanger bar, follow the instructions given by the manufacturer for attaching the fan box with the hanger box.
Place The Ceiling Bracket Or Plate
- A ceiling bracket or plate is a fixture that ensures your fan will remain suspended. Place the ceiling plate of the fan box and take out the wires from the central hole in the ceiling plate.
- Make sure to read the instructions given by the manufacturer whenever you are working on the specific electrical fitting parts. Methods of attaching the fan plate may vary from manufacturer to manufacturer so that you are required to read the instructions carefully.
- In case you have any type of molding or medallion, you can attach it to the fitting right now. To make it firmly hold to the roof, you can use urethane based adhesive in a small amount before you secure the medallion in place. For better finishing, you can cover nail holes using spackle or caulk.
Ceiling Fan Assembling Process
- To begin with, assembling the ceiling fan, your fan kit consists of various parts that are required to assemble for making a workable ceiling fan. In case you do not have a fan kit, you can easily get one from the nearby hardware store or can buy one from online.
- While purchasing the fan kit, make sure that you purchase the fan size that is according to the room space. In case you have a good spacious room, then buying a small wing fan is not a good choice.
- Make sure you ask the suggestions from the storekeeper. He or she will help you in getting the perfect fan kit according to the size of your room.
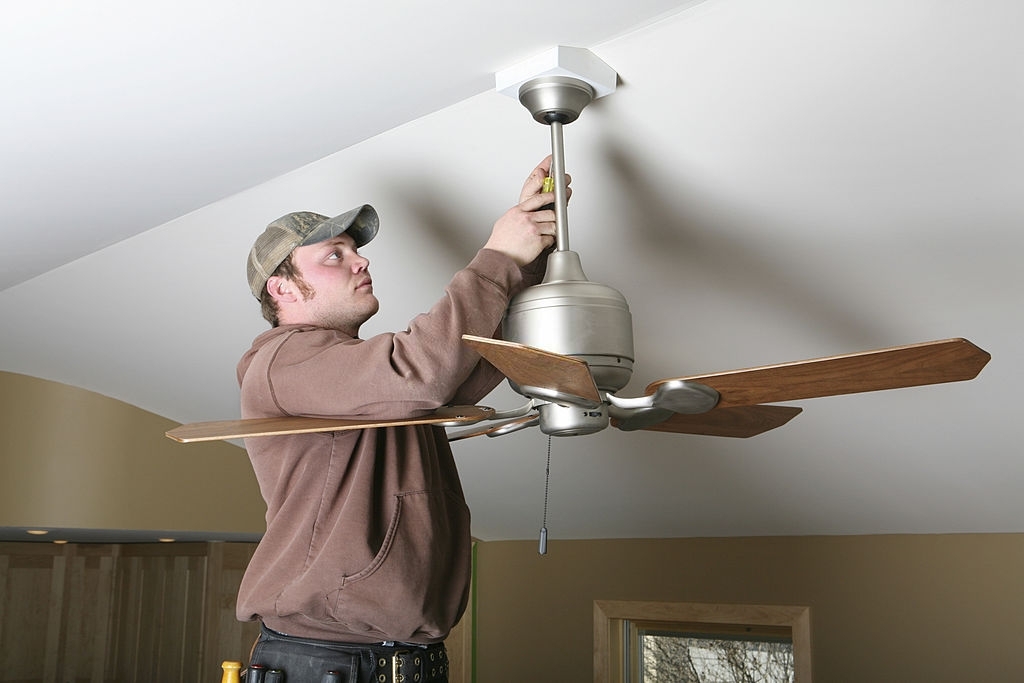
- The first thing you have to do while assembling the fan is to attach a downrod with the fan body. Downrod is a metal pipe that keeps the main body of the fan at a distance from the ceiling. Keep the fan body on the floor and thread wires that are attached to the fan by passing through the downrod.
- You can tighten locking screws to the base of the downrod till it firmly attached to the fan’s body.
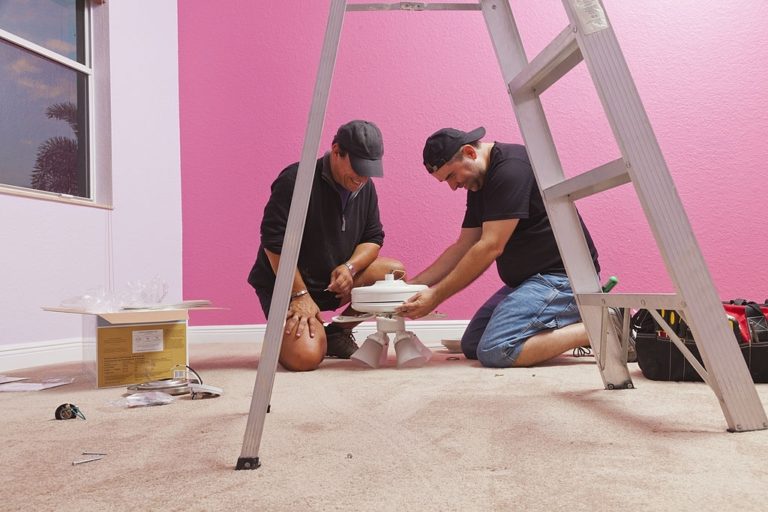
- Next, step up using the ladder and carefully lift the assembled fan up to the ceiling. You can ask the help of your friend to pass the assembled fan body to you so that you can easily attach the fan to the ceiling.
- After attaching the assembled fan body, you need to connect the white or neutral wire to the fan to create the current return path. It comes with the white color of insulated covering over the wire.
- Ground wires usually come in green color covering, and it prevents users from getting an electrical shock. Next, attach the two green or ground wires and secure them with a plastic connector.
- Last, connect all the remaining wires with each other. That remaining wire is a hot wire that provides power to the fan body. After attaching all the wires, tuck them carefully inside the fan box.
Mounting The Ceiling Fan
- Screw canopy that will cover the fan box. Canopy helps in lifting up the downrod and holds the fan body in place. Use the screws to secure the canopy firmly.
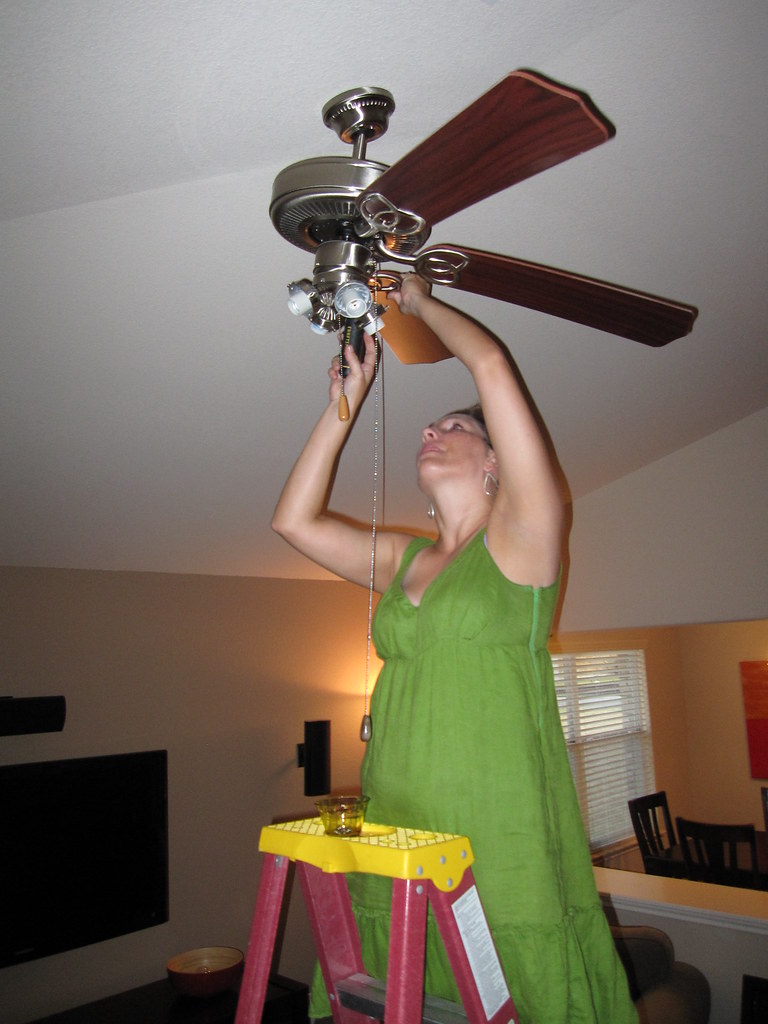
- Next, attach the fan blades to the fan body and screw them tightly.
- Install all the light fixtures to the fan. Read the manufacturer’s guidelines to install the lighting fixtures.
PRO TIP
If you still find it difficult to install a ceiling fan, you can give it one more try. Also, you can call a certified electrician, notice how easily he do it for the future reference.


