
How to Hang Wall Art Correctly: Simple Step-by-Step Guide
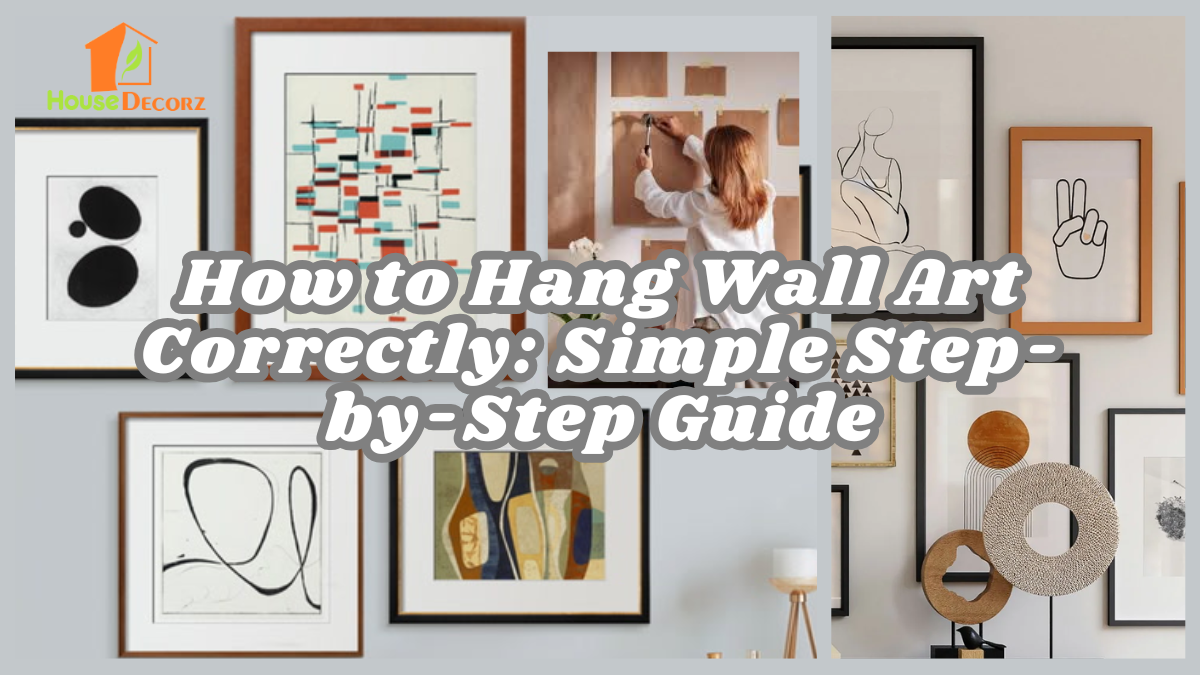
Hanging wall art may seem like a no-brainer—grab a hammer, nail it up, done. But getting it right is a different story. The height, spacing, alignment, and scale of artwork can make or break your room’s aesthetic. Whether you’re decorating a new space or rethinking your gallery wall, learning how to hang wall art correctly is essential for a polished, professional look.
This guide walks you through a simple, foolproof process for hanging art the right way—plus some key art hanging tips and style tricks to elevate your home wall decoration game.
Steps To Hang Wall Art Correctly
Step 1: Choose the Right Artwork for the Space
Before you hang anything, make sure the art suits the room and wall. The size and style of your piece should match the scale of the space and its function.
- Above a sofa or bed: Choose artwork that’s roughly 60–75% of the furniture’s width.
- In a hallway or entryway: Go for vertical or stacked art to match narrow spaces.
- For a gallery wall: Combine various sizes, but balance is key—plan the layout on the floor first.
Tip: Stick with artwork that complements the room’s color scheme, mood, and purpose.
Step 2: Determine the Ideal Hanging Height
The most common mistake people make is hanging art too high. A general rule: center the artwork at eye level, which is typically about 57 to 60 inches from the floor to the center of the piece.
How to Measure It:
- Measure the height of your artwork.
- Divide it by 2 (to find the center).
- Add the distance from the top of the frame to the hanging hardware.
- Subtract that number from 57–60 inches to find where the hook should go.
Example: If your art is 24 inches tall and the hook is 4 inches below the top, hang the hook about 56 inches from the floor.
Step 3: Gather the Right Tools
Having the right tools will save time and prevent wall damage. Here’s what you’ll need:
- Tape measure
- Pencil
- Hammer or drill
- Picture hanging hooks or wall anchors
- Level (or a leveling app)
- Painter’s tape (for layout mockups)
Art hanging tip: Use wall anchors or adhesive strips for heavier pieces or if you’re renting and want to avoid nails.
Step 4: Plan the Layout
If you’re hanging a single piece, this is easy. But for multiple frames, take your time.
- Lay everything out on the floor to visualize spacing and arrangement.
- Use painter’s tape to outline frame sizes on the wall before committing.
- Leave at least 2–3 inches between frames for spacing that feels natural—not cramped or too sparse.
For home wall decoration with gallery walls, start from the center and work your way out symmetrically.
Step 5: Hang It with Precision
Now that everything’s measured and planned:
- Lightly mark the hanging point with a pencil.
- Insert a picture hook or wall anchor at that point.
- Use a level to ensure the frame is straight before securing it.
- Step back and adjust as needed.
If you’re using two hooks for larger frames, measure carefully to keep things even and balanced.
Extra Tips for Styling Your Wall Art
- Use consistent framing for a clean, cohesive look.
- Mix textures and shapes in gallery walls—frames, mirrors, small shelves.
- Don’t overcrowd. Blank space is your friend; it gives art room to breathe.
- Layer and lean: In relaxed spaces like bedrooms, consider leaning art on shelves or dressers for a more casual look.
Recommendation
10 Easy DIY Wall Art Projects for Beginners – Decorate Your Space Creatively
Wall Art Trends 2025 – What U.S. Interior Designers Are Hanging This Year
Best Bedroom Wall Colour Combinations for 2025 – Modern Dual Tones
Top 5 Wall Paint Colors for U.S. Homes in 2025 – Designer Picks for Every Room
30+ Inspiring Bedroom Wall Decoration Ideas to Transform Your Space
Final Thoughts
Knowing how to hang wall art correctly is more than just putting nails in the wall. It’s about creating balance, visual harmony, and flow in your space. With the right tools, accurate measurements, and thoughtful planning, you can transform any wall into a stunning focal point—without the guesswork.
Whether you’re adding a single statement piece or crafting an eclectic gallery wall, these art hanging tips will ensure your home wall decoration looks professionally styled and well-composed.
Frequently Asked Questions (FAQs)
Q: How high should I hang art on the wall?
A: Aim to center the artwork 57–60 inches from the floor, which is about average eye level.
Q: What tools do I need to hang wall art correctly?
A: You’ll need a tape measure, level, pencil, hammer or drill, hanging hooks or anchors, and painter’s tape for layout planning.
Q: How much space should I leave between frames in a gallery wall?
A: Leave 2 to 3 inches between frames to maintain clean, even spacing.
Q: Can I hang art without putting holes in the wall?
A: Yes, Use adhesive picture-hanging strips for lightweight art. They’re renter-friendly and easy to remove.
Q: What’s the best way to hang multiple pieces of art?
A: Plan your layout on the floor first, tape outlines on the wall, and start from the center of your arrangement to keep things balanced.


