
How to Install Peel and Stick Wallpaper in Your Home
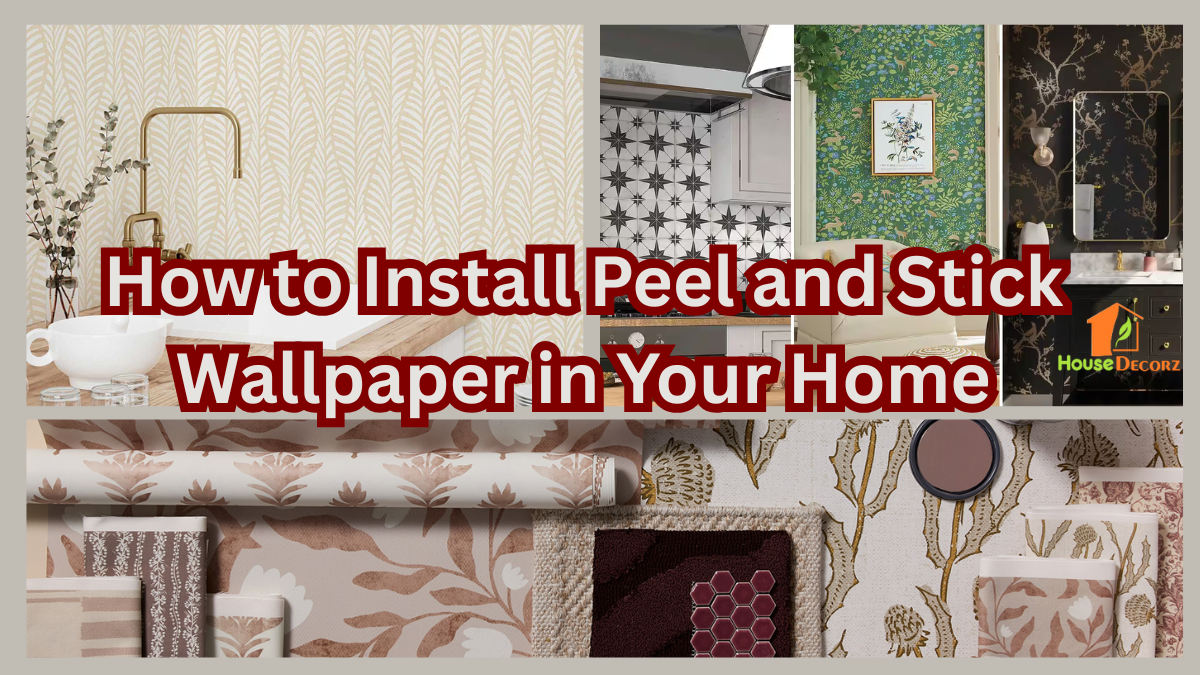
Peel and stick wallpaper is one of the easiest ways to give any room a fresh look without the mess, cost, or commitment of traditional wallpaper or paint.
Whether you’re decorating a feature wall, brightening up a small nook, or transforming an entire room, knowing how to install peel and stick wallpaper properly will help you achieve a polished, professional finish.
This step-by-step guide walks you through the process with tips, tools, and expert advice for successful DIY wallpaper installation—even if it’s your first time.
Why Choose Peel and Stick Wallpaper?
Peel and stick (also known as removable or self-adhesive) wallpaper has become a go-to for renters, first-time decorators, and anyone looking for an easy wall makeover. Here’s why it’s so popular:
- No paste or water required
- Removable without damage to most walls
- Perfect for small spaces, accent walls, or temporary design updates
- Hundreds of patterns and textures available, from bold prints to minimalist neutrals
Whether you’re revamping a home office or sprucing up a powder room, it’s a flexible and low-risk way to refresh your walls.
What You’ll Need
Before you start, gather the following supplies:
- Peel and stick wallpaper rolls
- Measuring tape
- Pencil
- Level or laser level
- Utility knife or sharp scissors
- Squeegee or smoothing tool (a credit card works too)
- Step ladder
- Clean cloth or sponge
Pro tip: Order a little more wallpaper than you think you’ll need—about 10–15% extra—to account for matching patterns and trimming errors.
Step-by-Step Guide to Install Peel and Stick Wallpaper
Step 1: Prep Your Wall
Start with a smooth, clean surface. Remove dust, dirt, and any old wallpaper or flaking paint. For best results:
- Wash the wall with mild soap and water
- Let it dry completely
- Repair any holes or bumps
- Avoid textured or heavily painted walls—they can reduce adhesion
DIY wallpaper installation tip: If your wall is freshly painted, let it cure for at least 3–4 weeks before applying wallpaper.
Step 2: Measure and Cut
Measure the height of your wall and cut each wallpaper panel accordingly, leaving an extra 1–2 inches at the top and bottom for adjustments.
If your wallpaper has a repeating pattern, align each panel carefully to ensure a seamless flow across the wall.
Step 3: Start with a Straight Line
Use a level to mark a straight vertical line on the wall where you’ll place your first panel. This ensures that the wallpaper won’t slant as you apply more strips.
Tip: Don’t rely on wall corners to be perfectly straight—they often aren’t.
Step 4: Peel, Stick, and Smooth
Begin peeling off a few inches of the backing at the top of your first panel. Align the wallpaper with your guideline and press it to the wall, smoothing as you go.
- Work top to bottom, peeling away more backing gradually
- Use the smoothing tool to press out air bubbles
- If you make a mistake, gently peel the panel back and reposition it
Repeat the process for each panel, carefully matching the pattern at the seams.
Step 5: Trim the Edges
Once the wallpaper is fully applied, use a sharp utility knife to trim the excess at the top, bottom, and sides.
- Press firmly into corners and edges for clean cuts
- Use a straight edge (like a ruler) to guide the blade
Take your time with trimming—it’s the finishing touch that makes the whole wall look polished.
Styling Ideas for Peel and Stick Wallpaper
Peel and stick wallpaper isn’t just for walls. Try these easy wall makeover ideas:
- Accent the back of bookshelves or cabinets
- Line the inside of drawers or closets
- Create a bold feature wall behind your bed or sofa
- Cover stair risers for a unique touch
Recommendation
How to Install Wallpaper in a Bathroom: A Comprehensive Guide
Smart Lighting Ideas That Cut Your Energy Bill in Half – 2025 USA Edition
Ultimate Guide to Mother’s Day Decoration Ideas: Creative, Elegant & Easy-to-Implement Tips
Engagement Party Decoration Ideas: Unique & Inspiring Ways to Celebrate Your Special Day
Wedding Car Decoration Ideas: Unique & Beautiful Ways to Make Your Big Day Special
Final Thoughts
Learning how to install peel and stick wallpaper is an easy, affordable way to refresh your space with minimal effort. With the right tools, careful prep, and a steady hand, you can pull off a stunning DIY wallpaper installation that looks just as good as professional work—without the mess or long-term commitment.
Whether you’re going bold with color or subtle with texture, this versatile solution offers endless possibilities for a quick and stylish transformation.
Frequently Asked Questions (FAQs)
Q: Can I use peel and stick wallpaper in a bathroom or kitchen?
A: Yes—but look for water-resistant or moisture-proof wallpaper specifically made for high-humidity areas.
Q: Does peel and stick wallpaper damage walls?
A: When applied to clean, painted walls and removed carefully, it typically won’t damage the surface. Always test a small area first.
Q: How long does peel and stick wallpaper last?
A: With proper application, it can last several years. However, it’s also easy to remove or replace when you’re ready for a change.
Q: Can I reposition the wallpaper if I make a mistake?
A: Yes, that’s one of its biggest benefits. Gently peel it back and adjust as needed.
Q: Do I need to overlap panels or place them edge to edge?
A: Always follow the manufacturer’s instructions. Most designs are meant to be placed edge to edge for a seamless look, not overlapped.


