
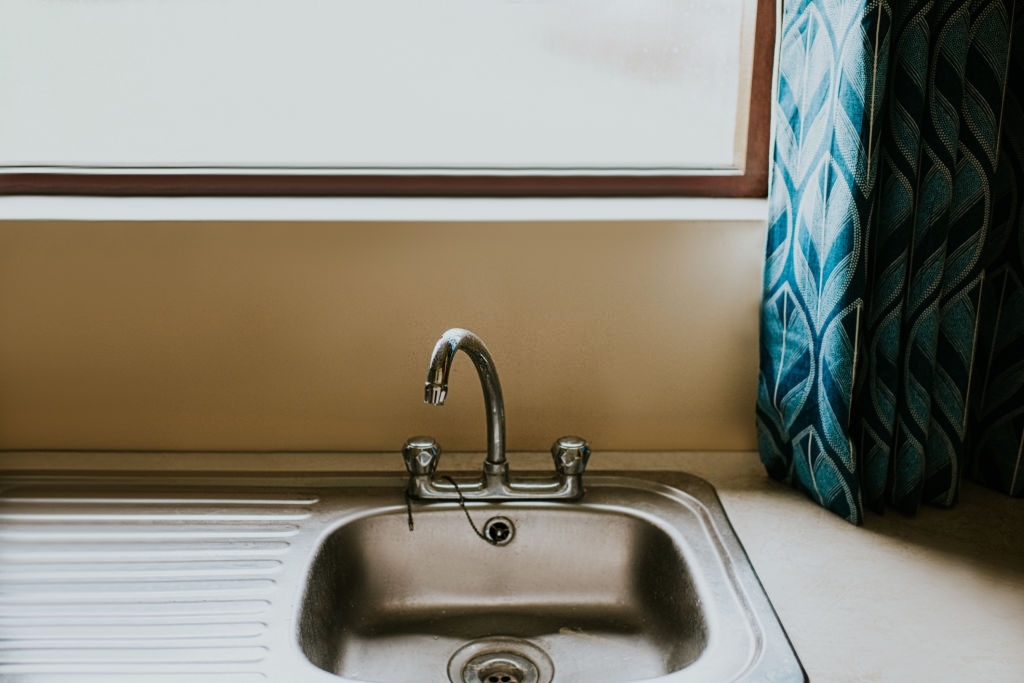
How To Install A Kitchen Sink Drain
Kitchen sink drain is very useful thing and it is installed in every house. There are no such reasons that demand you to change the drainage pipe attached below your kitchen sink. But you have to install a kitchen sink drain at the time of kitchen renovation and remodeling.
The steps involved in the installation of the new kitchen sink drain depend on how it is different from the old kitchen sink drain. For instance, your new sink can be deeper or larger than the older one, so you need to do alternation in the drain pipe branch fittings, and inserting them into the wall can be necessary.
However, installing a sink drain is not a difficult task; you can do it if you follow all the steps exactly and read the instructions carefully given in the manual.
Here below are the instructions for how to install a kitchen sink drain system for the first time. But before this, know what tools and materials you required to install the sink drain.
Tools & Materials Required to install a Kitchen Sink Drain
| Hacksaw or PVC Tube Cutter Marker Channel-Type Pliers Drain Trap Kit Tape Measure |
Instructions To Install a Kitchen Sink Drain
Measure The Height Of The Drain Outlet
If your new sink drain is deeper than the older one, then you have to lower the drain pipe fittings in the wall to lower so that it matches with the new drain system. It is better to measure the height of the old sink trap arm before you buy the new sink drain. Trap arm is located between the P-Trap or U-shaped bend trap and drain pipe branch in the wall.
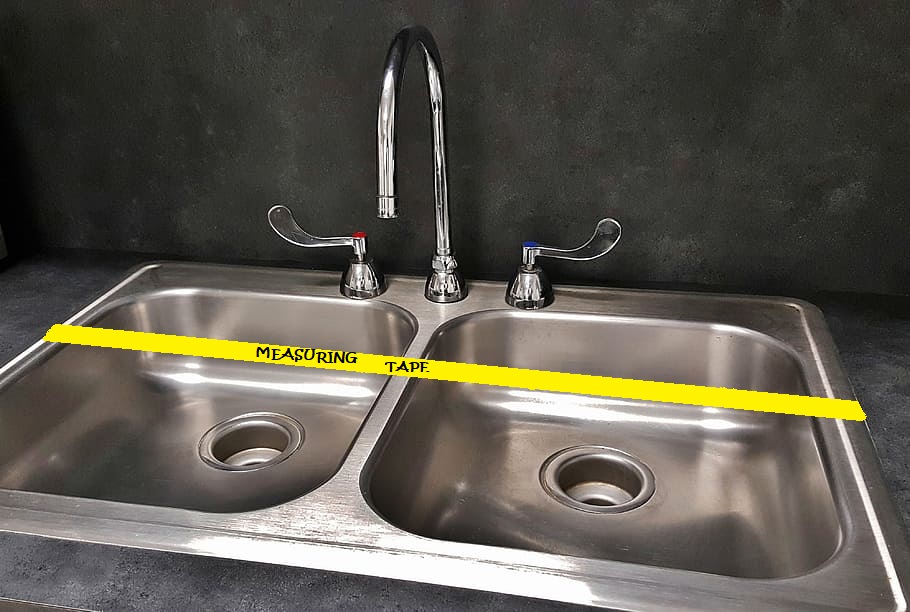
Measure the height from the floor to the center of the trap arm or from the base of the sink cabinet. According to the height, you have to make sure that the new sink drain will not be downward slope more than the trap arm.
Low Drain Pipe
In case the drain opening is not according to the new sink drain and does not accommodate the depth of it, then you need to lower the height of the sanitary tee by opening the wall. This task can be a complicated one as you have to cut back the sink cabinet and the surface of the wall.
It is better to first lower down the sanitary tee and waits till all parts get tested and fitted before glue and secure it permanently. Leave fittings somewhat loose so that it allows some space for adjustments. Before the next step, you need to install the new kitchen sink.
Connect Tailpiece
- The tailpiece is a drain pipe that is connected with a sink strainer, run down to the tee fitting.
- You have to connect the continuous waste pipe with the tee fitting drain of the garbage disposal.
- Make sure to cut the waste pipe and tailpiece according to the required length for installation.
- Use a washer or slip nut and temporarily connect the tailpiece on the sink strainer.
- Next, temporarily install a continuous waste pipe curved end with a drain outlet for garbage disposal.
- Leave the straight end of the waste pipe extended past the tailpiece.
- Make sure that the waste pipe should be in a slope position down to the tailpiece.
- Now mark both waste pipe and tailpiece from there they cut to fix in a tee fitting. With the help of a hacksaw or PVC tube cutter, cut the waste pipe and tailpiece up to the length required.
- Again install the waste pipe and tailpiece with tee fitting, leave the hand-tight connections.
- Adjust all the fittings accordingly and make sure that the waste pipe arm should be on a downward slope to the tee fitting.
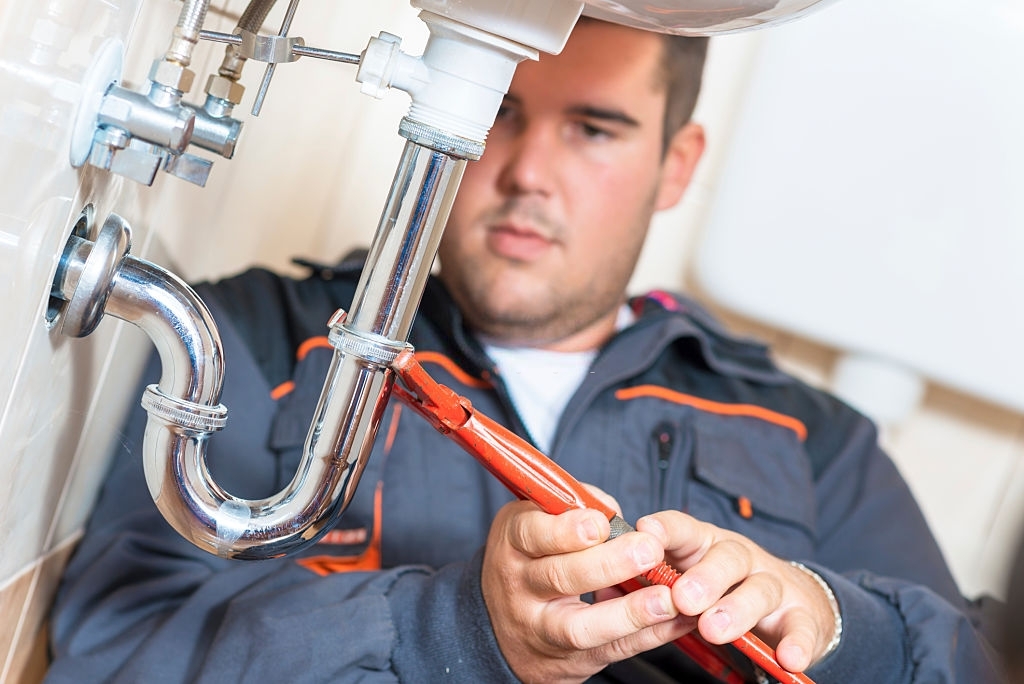
Attach Sink Drain Trap
The kitchen drain sink assembly includes a U-shaped bend trap and arm trap of J-shaped. This bend trap fits in the bottom of the tee fitting of the tailpiece, whereas the arm trap extends to the sanitary tee at the wall.
- Loose secure the trap arm and trap bend with washer and slip nut.
- You have to slightly slide the washer and slip nut on trap arm straight end.
- Now adjust all trap pieces according to make a direct path of drain from the sink to wall tee. Remember to keep the slight downside angle of the trap pieces to the wall tee.
- Mark the trap and cut accordingly. In case the size is too long, and it does not fit properly in space, then you have to re-install P-trap assembly.
- Next tight all washers and slip nuts using a channel-type plier. Make sure not to overtighten the slip nuts and washers.
Make sure and check whether both trap arm and waste pipe are on a downward slope to water direction. Also, check all the drain connections that are tightly fixed and not leaking.
PRO TIP
Remember to keep the face of the trap in the correct way, that bend is below to the tailpiece. Make sure not to fit the tarp into a small space rigorously. Otherwise, all your work will go in vain, and it will not work properly.
Carefully Check Leaks
Turn on the tap and run water through the sink and check leaks at joints of the pipes. If any leaks, tight all the joints again and properly. Again run water and check for the leaks; if no leaks, then your kitchen sink drain installation gets completed.


